Bold · Beginner
Bold Red Lip
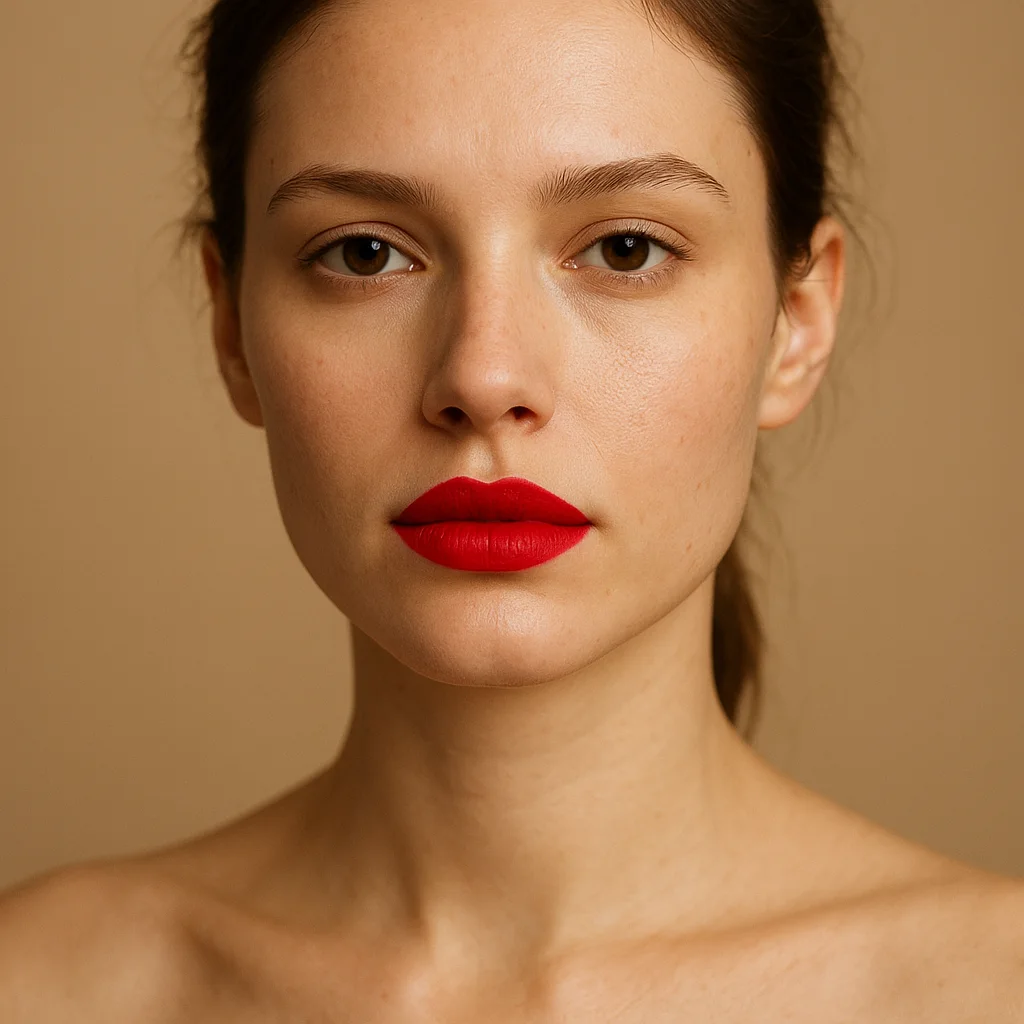
A red lip lives or dies on the edges. Ten minutes is enough to get a line that is sharp, colour that is even, and a finish that survives a drink — as long as you prep the lips properly and build the colour in layers instead of one heavy swipe. Keep the rest of the face simple so the lip is the thing people see.
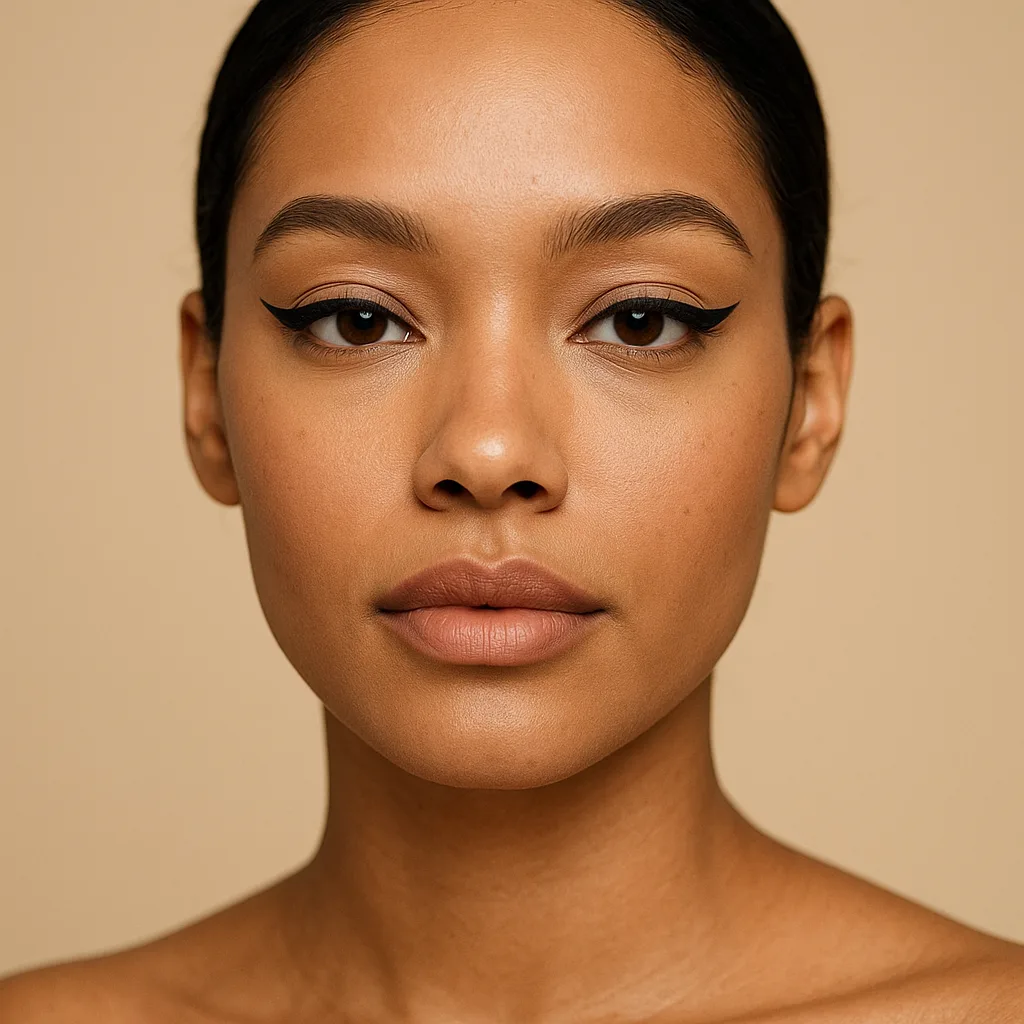
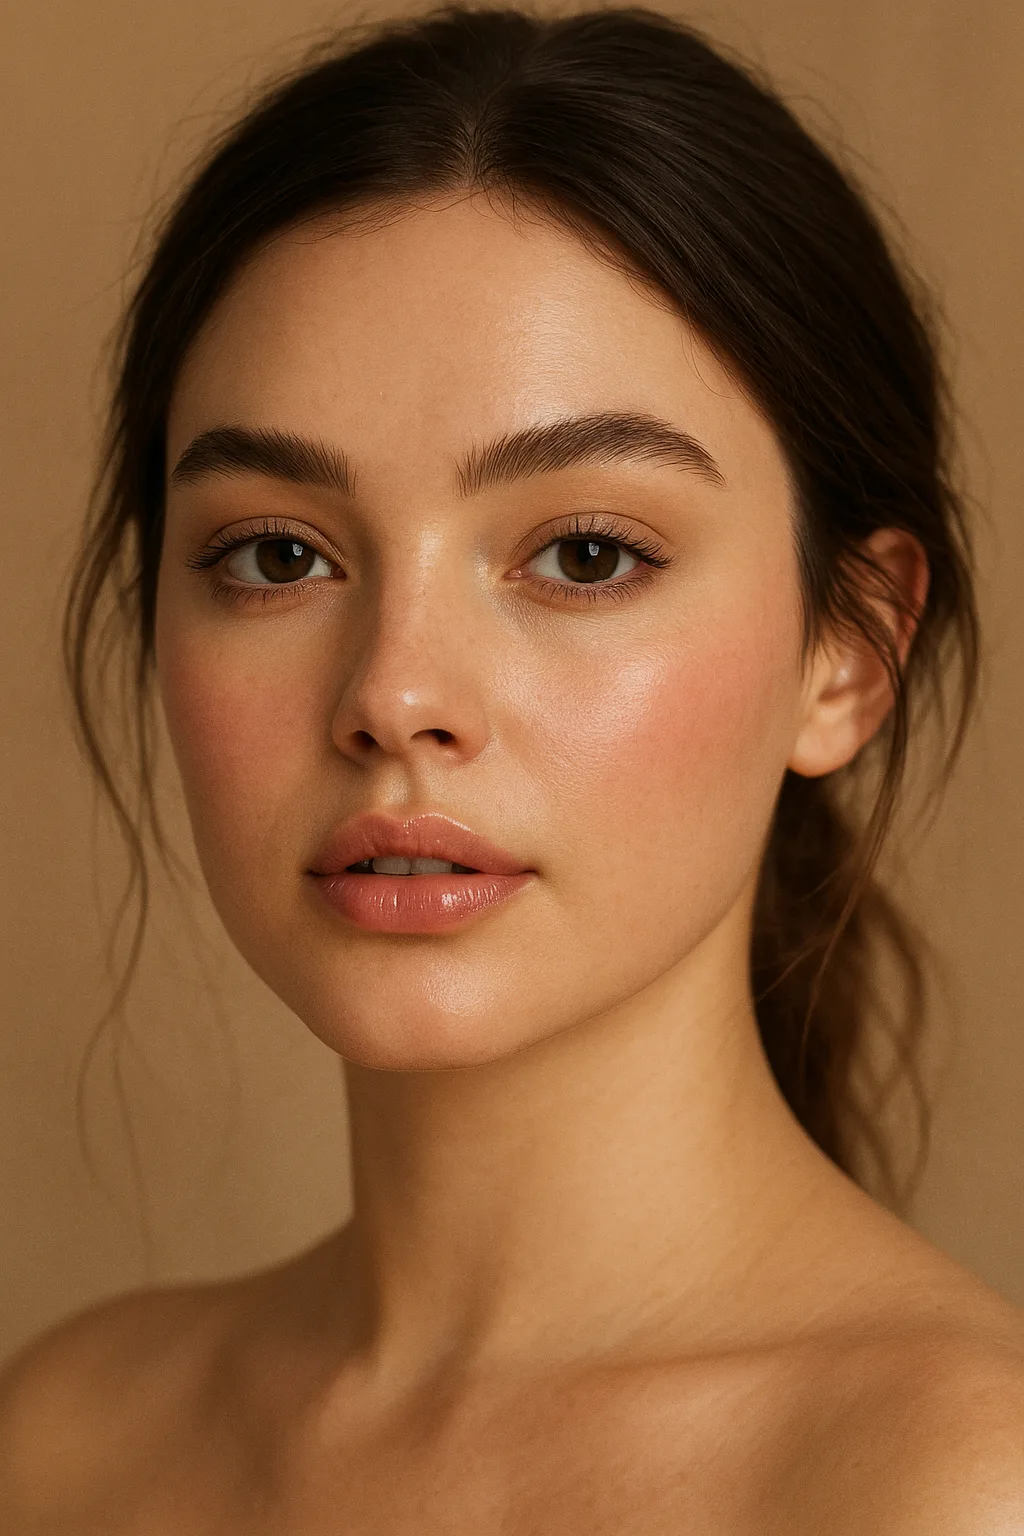
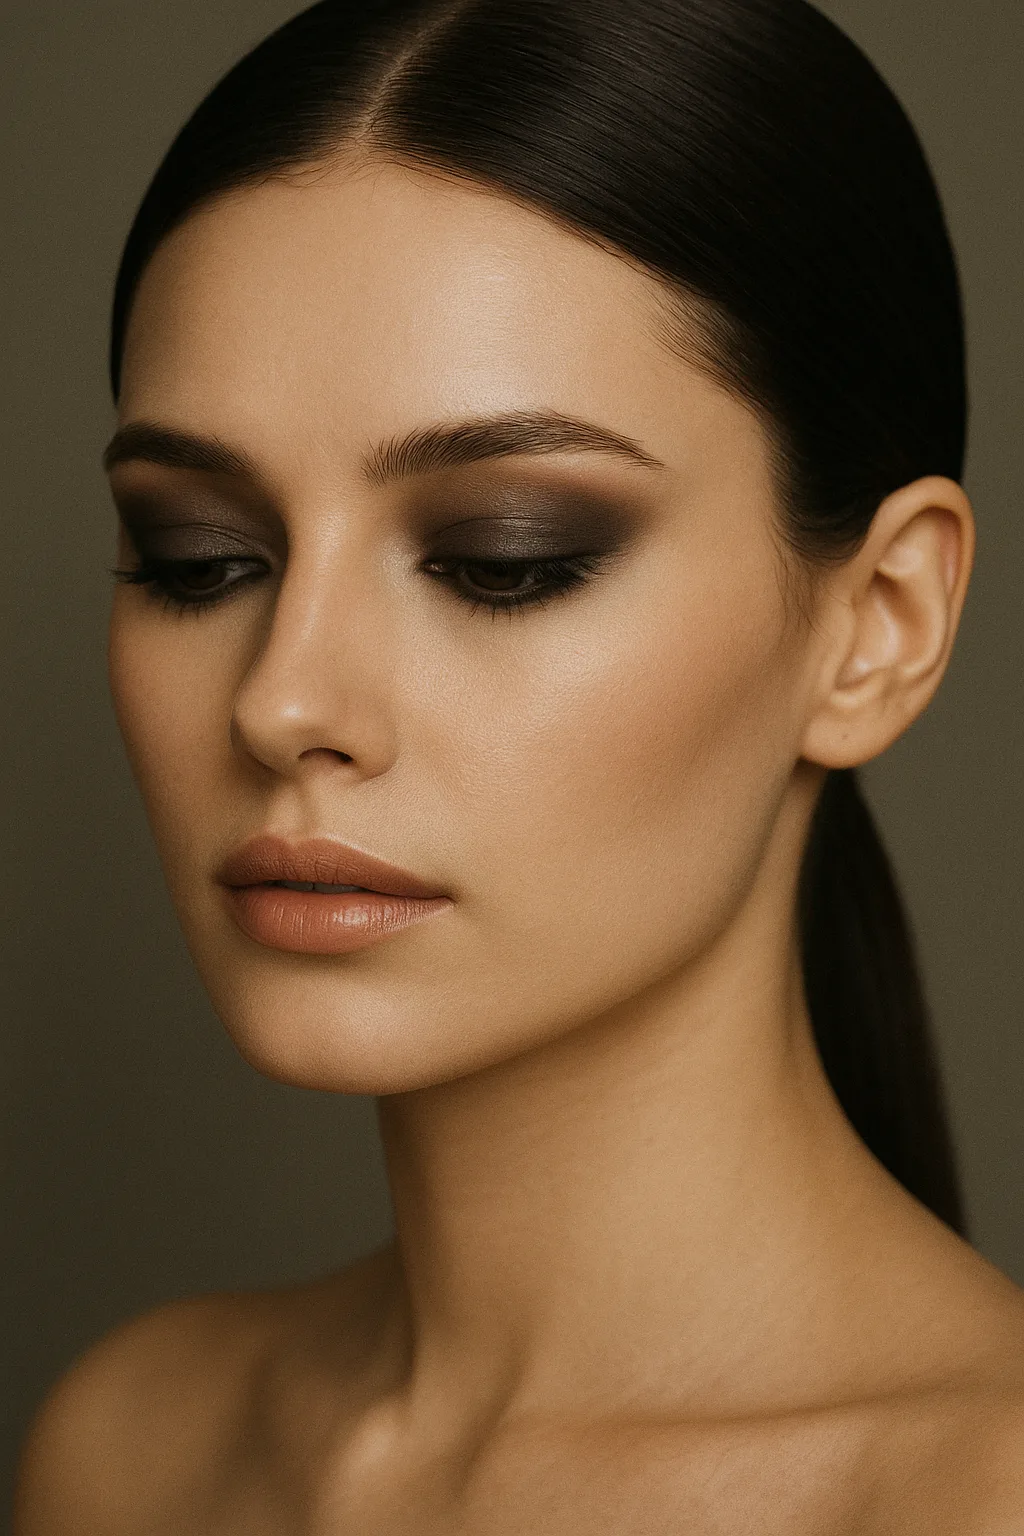
Your skin tone
Skin tones sit on a spectrum, not in three boxes — if you are between two, read both, because undertone matters as much as depth.
Shade matching & colour correcting
Find your undertone
Pick a red by undertone rather than by depth: the shade that suits you is built on the same blue or orange as your skin, and a red that fights your undertone looks wrong however good it is on someone else. Work it out in daylight — blue-reds (cherry, raspberry, wine) flatter cool undertones, warm bricks, tomato and orange-reds flatter warm undertones, and a true red with neither strong blue nor strong orange sits best on neutral skin. The vein test is only a rough guide, because vein colour depends on how near the veins sit to the surface and on your own depth, so the honest test is three reds lined up on your bare lips: one blue, one true, one warm. Your lips are also not your face, which is why a red that flatters your cheeks can still read cool or heavy on your mouth.
Match your base
Match the red on your bare lips, never on the back of your hand. Lips carry their own pigment, usually more brown at the outer edge and more pink in the centre, so the same bullet that reads cherry on one person reads brick on another and a hand swatch tells you nothing about your mouth. Test three reds in daylight, at arm's length in a mirror, and look at the whole face rather than the lip. Then build the colour as a base rather than a coating: line and fill the whole lip with a matching liner, press the lipstick on in two thin layers with a brush, and blot between them. Blotting and re-applying is what makes a red last, where one thick layer slides off the centre of your mouth and leaves a ring of colour at the edge. Reapply on top of the liner, and buy the liner with the lipstick so the two always agree.
Colour correcting by tone
- Light
Correct before you colour: lighter lips often lean cool pink, so a whisper of warm peach concealer pressed over the lip stops a blue-red turning purple on you — thin enough that you can still see the lip through it. Then blue-reds and cherry work because they share that coolness, while a warm brick with real orange in it can pull orange on lighter lips and warm the whole face without meaning to.
- Medium
Correcting is light work on medium lips: only mute the outer edge if it is noticeably darker than the centre, and leave the middle bare so your own warmth comes through. True reds and warm bricks then match easily, because they are neither strongly blue nor strongly orange — and if a true red looks flat, a brick with a little warmth restores the contrast, while on olive-leaning skin a very blue red can read purple.
- Deep
On deeper lips the correction that decides the result is the liner, not the concealer: a pale or too-light liner leaves a grey rim where it meets your pigment, so line and fill with one matched to the red, or a step deeper for wine and berry. Then deep blue-reds and berries have the most presence, where a light or mid-tone red can look pale and sit on the surface of the lip.
Why deeper skin goes grey — and what to use instead
A red that turns grey, blue or purple on deeper lips is an undertone mismatch, not a coverage problem. Deeper lip pigment carries more brown and blue in it than the bullet was built against, so a light or pink-leaning red can look grey once your own colour comes through, and a nude or pale liner underneath makes it worse because the pale wax shows at the outer edge as a chalky rim. The fix is never more product or a paler shade on top — change the undertone instead: a deep blue-red, wine or berry, lined and filled so there is an opaque floor under the colour. Sheer and very glossy reds also reflect light off the lip and read washed out, and that washed-out look is what people then misread as grey. If a red goes ashy at the corners by the end of the evening, it is the liner and wear rather than the shade, so reapply onto the liner instead of layering lipstick over lipstick.
The kit
What you need
Base
- A little cream concealer in your own depth — or a lip primer, which mutes deeper lips without going grey
- Finely milled powder, tinted to your skin if you are using it around the mouth
Lips
- Lip balm
- Lip liner matched to your lipstick — a deep red or berry for wine shades, never a nude or pale liner
- Matte or satin red lipstick chosen by undertone — a blue-red or cherry, a true red, or a deep wine or berry
- Tissues for blotting
Tools
- Lip brush
- Flat concealer brush
- Cotton buds
Before you start: New to a product? Patch-test it on your inner forearm 24 hours before you wear it on your face, and check expiry dates on anything that has been open a while. Stop using anything that stings, itches or breaks you out.
Products & brands
Suggestions, not tested endorsements. These are widely available lines that suit this step; formulas and shade ranges change, so check the version you are buying. No prices and no links — brands are listed by tier so you can choose by budget.
Cream concealer or lip primer
Drugstore
- e.l.f. 16-Hour Camo Full Coverage Concealer
Mid-range
- NARS Radiant Creamy Concealer
- MAC Prep + Prime Lip Primer
Premium
- Estée Lauder Double Wear Stay in Place Concealer
Powder around the mouth
Drugstore
- e.l.f. Halo Glow Loose Setting Powder
Mid-range
- MAC Mineralize Skinfinish Natural
Premium
- Hourglass Veil Translucent Setting Powder
Lip balm
Drugstore
- e.l.f. Glow Reviver Lip Plumping Oil — balm-like prep layer
Mid-range
- NARS Afterglow Lip Balm
Premium
- Sisley Phyto-Lip Twist Matte
Red lip liner
Drugstore
- e.l.f. Cream Glide Lip Liner
- Collection Plumping Lip Liner
Mid-range
- MAC Lip Pencil — Cherry, Ruby Woo or Beet
- Laura Mercier Caviar Perfecting Lip Liner — 07 Red Velvet
Premium
- Estée Lauder Double Wear Stay in Place Lip Pencil
- Pat McGrath Legendary Longwear Lip Liner
Matte or satin red lipstick
Drugstore
- Collection Soft Matte Lipstick — red shades
Mid-range
- MAC MACximal Silky Matte Lipstick — Ruby Woo
- NARS Powermatte High Intensity Lipstick
Premium
- Estée Lauder Pure Color Matte Lipstick
- Sisley Le Phyto-Rouge
Lip brush, concealer brush, cotton buds
No specific product named here — a damp makeup sponge, a small angled brush or a spoolie from any brand works. No brush, sponge or spoolie could be verified at drugstore or mid-range, so none is named.
No product here is paid for or linked to, and nothing on this page earns a commission. Where a slot has no verified product we say so rather than guess.
Follow along
Step by step
Use Previous and Next, or the arrow keys.
Prep the lips, then blot
Apply lip balm, leave it for a minute, then blot off the excess with a tissue so the lips are soft but not slippery.
Why it works
Balm softens flakes so colour goes on smoothly, but any residue left behind makes lipstick slide straight off the centre of your mouth.
Skin tone notes
- Light
Lighter lips show flaking through a red more than through any other shade, so use a thin, non-greasy balm and give it a full minute. Blot harder than feels necessary — leftover balm is what lifts the red off the centre of your mouth within the hour.
- Medium
Prep for texture rather than colour on medium lips: a thin balm, a firm blot, and a gentle rub with a damp flannel over any dry patch, because a red catches on flakes you cannot see in the mirror.
- Deep
Deeper lips carry more natural pigment and more visible lines, so keep the balm thin and blot almost all of it off. Skip a scrub right before a red — it leaves the lip surface uneven, and a matte red settles into that unevenness.
Next