Lip combo · Overline + gloss
Korean Overlined Lip
This is the one combo that deliberately leaves the lip line: the colour goes about a millimetre past the cupid's bow and the centre of the lower lip, then gets softened until the new edge looks like lip rather than like a drawn line. It is the opposite move to a blurred lip, which stays inside your own border and diffuses it there — here the border is rebuilt, a small amount at a time, and the liner that does it is a shade that matches your lips rather than a darker one, because the darkest line on an overlined mouth is the one that reads as pencil. Work on a matte or soft-matte base: the added millimetre holds in a matte finish and slides in a balmy one. And be told plainly: a heavy overline does read as drawn-on from close up. That is the trade-off, not a secret — the answer is millimetres built up in short strokes, not one confident sweep. About six minutes, and most of it is spent at the bow.
Your skin tone
Skin tones sit on a spectrum, not in three boxes — if you are between two, read both, because undertone matters as much as depth.
Shade matching & colour correcting
Find your undertone
An overlined lip is judged on your lips, not on your skin, because the liner's job is to agree with the mouth it is drawn around. Look at your bare lips in daylight: lips that lean pink or rose take a rose or soft rosewood pencil, lips that lean brown or peach take a warm rose-brown, and lips with both take a muted mauve. Hold the pencil against the lip by a window and check that it disappears into the lip rather than drawing a line on it — the back of the hand is a different colour from lips on almost everyone, so it is the worst place to test this. Your skin undertone still matters for the colour on top: a cool pink over warm lips reads as a separate colour, while a colour in the lip's own family looks like your mouth with better light.
Match your liner and gloss
Match the liner to your lip in depth and temperature, then take the colour one step deeper than the liner so the centre has something to sit against. Cool or neutral-cool lips: rose, soft rosewood, muted mauve. Warm, golden or olive lips: warm rose-brown, soft terracotta-rose, peach-brown. Olive skin usually wants a rose with a little brown in it, since a straight pink can pull green out of the face. The finish matters as much as the shade: matte and soft-matte hold an overline in place, while satin and gloss formulas keep sliding back over the border you just built. The gloss is the one product whose shade barely matters — clear is clear — so choose it on texture, something non-sticky with no pearl.
Liner and gloss by tone
- Light
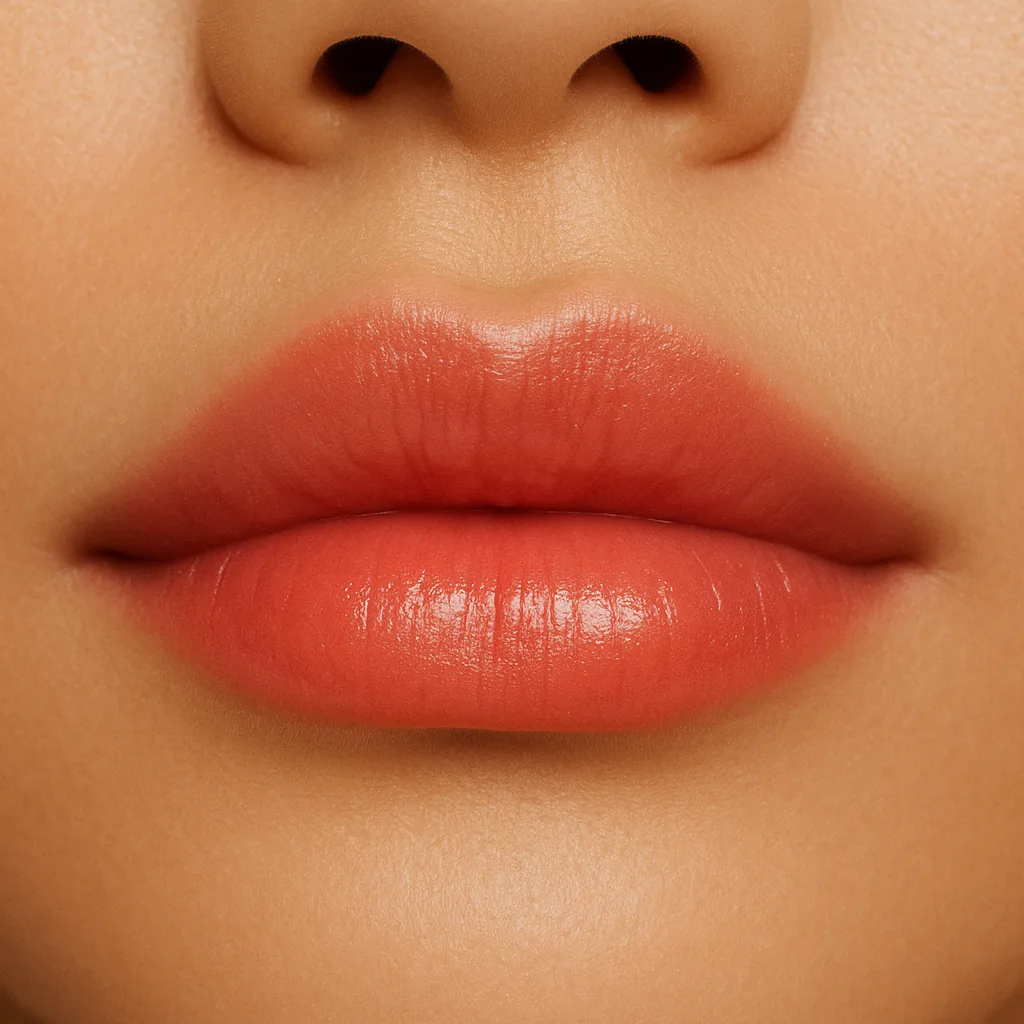
Rose or soft rosewood, kept close to the lip, and no concealer at the border unless your lip edge is genuinely uneven. Half a millimetre of overline is visible on lighter lips, so build slowly and check in daylight before adding the next stroke.
- Medium
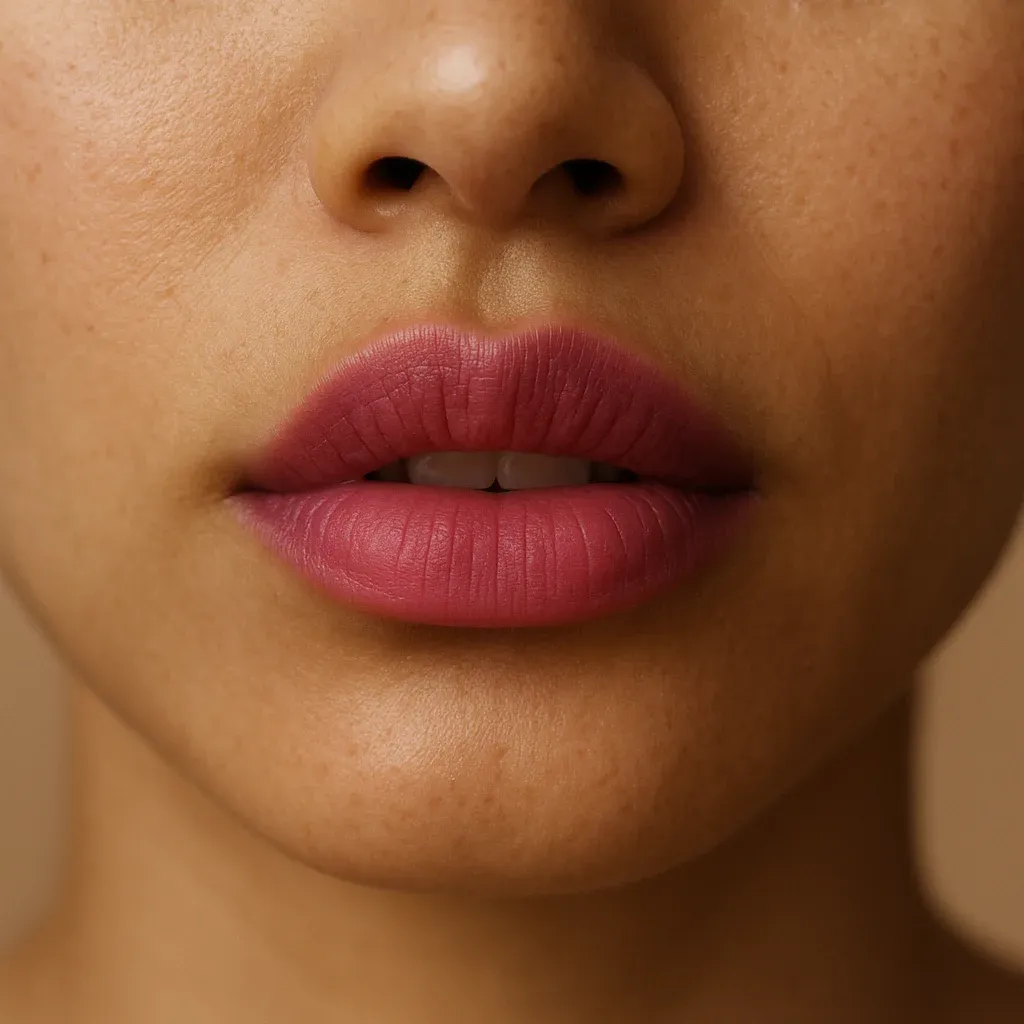
A warm rose-brown or muted mauve, and a small amount of concealer on any darker rim before lining — on medium lips an uneven border is the thing that shows first once the edge is softened. Keep the colour within a step of the liner so the centre does not separate into a second shade.
- Deep
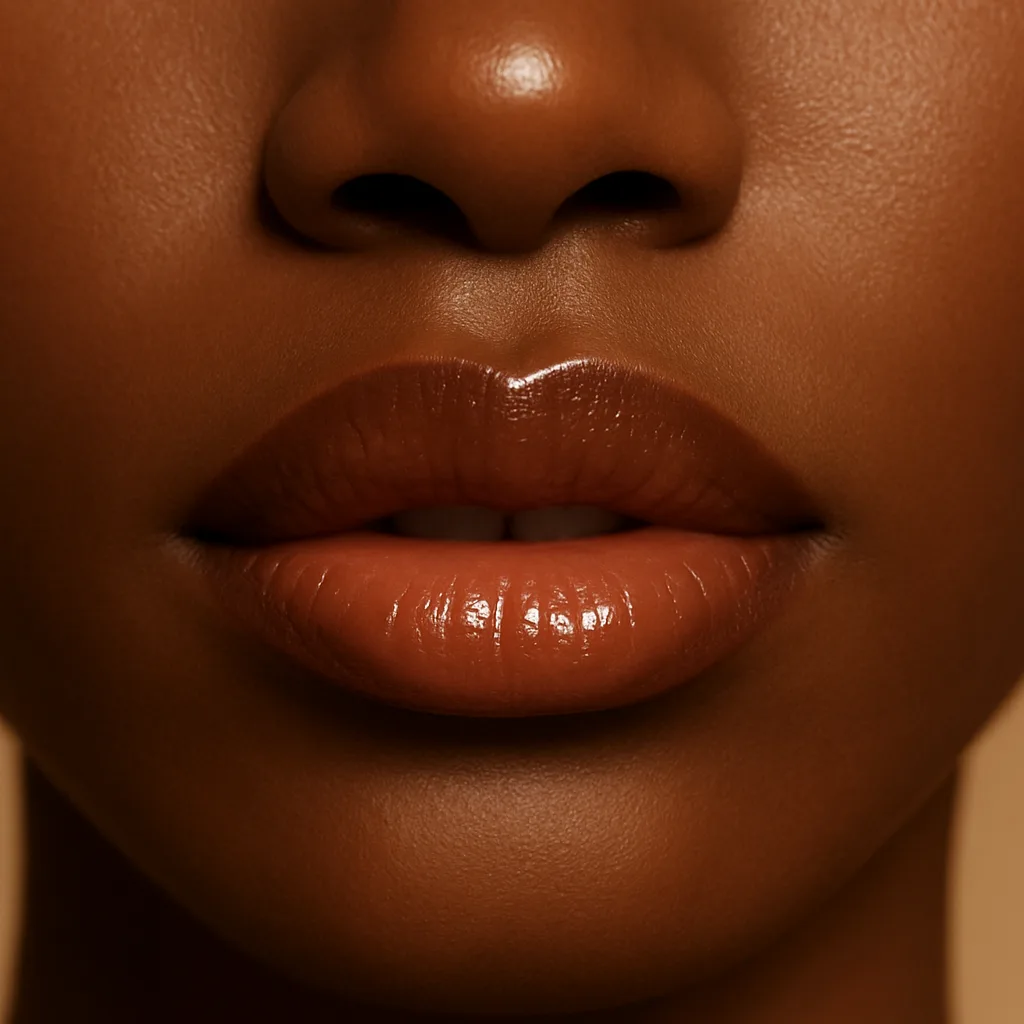
A plum-brown or deep rose liner at least as deep as the lip, and concealer in your own depth over the border before you re-line. Pale liners and pale nudes are what turn an overline chalky on deeper lips; the overline itself should stay small, since fuller lips need less added shape and show more of it.
Why lip colour goes grey — and what to use instead
An overlined lip goes chalky for one reason: the liner or the colour is lighter than the lip it is drawn on. Pale nudes and beiges are built on white pigment, so on deeper lips they sit on the surface instead of sinking in, and the softened edge then reads as a grey-white ring around the mouth. The same happens with a milky or pearled gloss on top, and with a dark border left un-concealed under a lighter new edge, which shows as a shadow band inside the shape. What to use instead: a liner that matches your lip rather than one that lightens it, a matte or soft-matte colour in the same family one step deeper, a clear gloss with no pearl, and on medium and deeper lips concealer over the border before lining. If the new edge looks grey rather than like lip in daylight, the product is too light — softening it further will only spread the grey.
The kit
What you need
Liner
- Lip liner that matches your own lip colour and undertone — not a darker one; the first line is meant to disappear
- A fine-point pencil you can sharpen: the overline is built in short strokes, never one sweep
- Concealer in your own shade and a small flat brush, if the border of your lip is darker than the lip itself
Colour
- Matte or soft-matte lip colour — a tint, a lipstick or the liner itself — in the same family as your lips, one step deeper
- A small brush or a clean fingertip for pressing colour into the centre
Gloss
- Clear or sheer tinted gloss or lip oil with no pearl, for the centre of the lips only
Tools
- Clean fingertip, a small brush and cotton buds for softening the new edge
- Tissues for blotting
- A small flat brush for the concealer at the border
Before you start: New to a product? Patch-test it on your inner forearm 24 hours before you wear it on your face, and check expiry dates on anything that has been open a while. Stop using anything that stings, itches or breaks you out.
Products & brands
Suggestions, not tested endorsements. These are widely available lines that suit this step; formulas and shade ranges change, so check the version you are buying. No prices and no links — brands are listed by tier so you can choose by budget.
Liner that matches your own lip
Drugstore
- e.l.f. Cream Glide Lip Liner
- Collection Plumping Lip Liner
Mid-range
- MAC Lip Pencil
- Laura Mercier Caviar Perfecting Lip Liner
Premium
- Estée Lauder Double Wear Stay in Place Lip Pencil
- Pat McGrath Legendary Longwear Lip Liner
Matte or soft-matte colour
Drugstore
- Collection Soft Matte Lipstick
Mid-range
- MAC MACximal Silky Matte Lipstick
- NARS Powermatte High Intensity Lipstick
Premium
- Estée Lauder Pure Color Matte Lipstick
No dedicated lip tint was verified — a matte or soft-matte lipstick is what these verified rows cover.
Clear or sheer gloss for the centre
Drugstore
- e.l.f. Glow Reviver Lip Plumping Oil
Mid-range
- NARS Afterglow Lip Shine Gloss
No premium gloss was verified — a clear or tinted gloss from the drugstore or mid-range tier works over this pairing.
Tools — fingertip, cotton buds, tissues
No specific product named here — a damp makeup sponge, a small angled brush or a spoolie from any brand works. No brush, sponge or spoolie could be verified at drugstore or mid-range, so none is named.
No product here is paid for or linked to, and nothing on this page earns a commission. Where a slot has no verified product we say so rather than guess.
Follow along
Step by step
Use Previous and Next, or the arrow keys.
Balm, blot, then mute the border
Apply a thin balm, leave it a minute and blot until the surface is soft rather than slippery. Then, if the border of your lip is darker than the lip itself, tap a little concealer around the outside edge and blend it away from the mouth before you line anything.
Why it works
The overline only reads as lip if the skin it crosses is one even colour. A darker border left as it is shows as a ring under the new edge, and the softer you blend, the more clearly it shows — which is why this is the first step and not a fix at the end.
Skin tone notes
- Light
Lighter lips rarely need concealer at the border, and a pale one there reads as a white ring — if you use any, use your own shade and the smallest amount. Keep the balm thin and blot twice: a slippery lip is the main reason an overline slides out of shape within the hour.
- Medium
Medium lips often have a slightly darker rim, especially at the corners, so conceal just the outer edge and blend it outwards into the skin rather than over the lip. Blot the balm properly first, or the concealer will not sit and will gather in the fine lines above the lip.
- Deep
Deeper lips usually have visible hyperpigmentation at the border, and this step decides whether the overline works at all: conceal the border first in your own depth, blend it into the skin, let it set, then re-line on top of it. An un-concealed border shows as a darker band inside the new lighter edge, and no amount of softening hides it.
Next
More combos
Want the whole face rather than just the lip? Browse the nine full looks.